Modeling 3D objects is pretty neat. Whether it is for animating a video or making an interactive program, having some understanding the basics of a 3D program makes it easy to create impressive looking things.
Enter Blender - an amazing, FLOSS software package. To me Blender is like VIM, a modal, keyboard driven editor, only 3D. It is so intuitive for developers!
Adding your first object
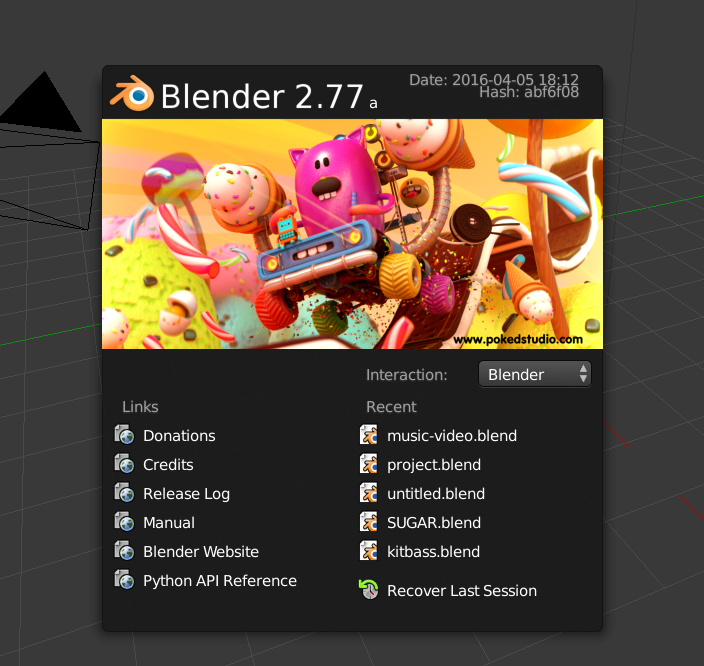
Open up blender, and you get the splash screen, which showcases a lovely artwork for each release. Click anywhere outside the splash box to dismiss it.
First select the cube in the middle of the default scene. You can do that by right clicking. It might be already selected; the orange outline symbolises the current selection.
Now we need to delete the cube. Press x (like in vim), and a menu will popup.
Press enter to activate the (blue) selected item, which is delete.
Now open the add menu to add a new object. Press Shift-a (a is already used for select all),
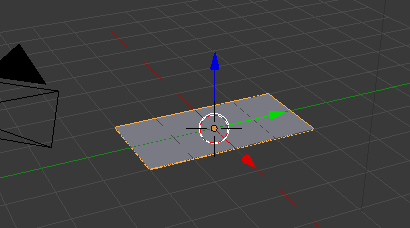
choose mesh, then an object of your choice. I'm going to use a plane.
Looking around
Now for an important prerequisite: a mouse with an easy to use middle button.
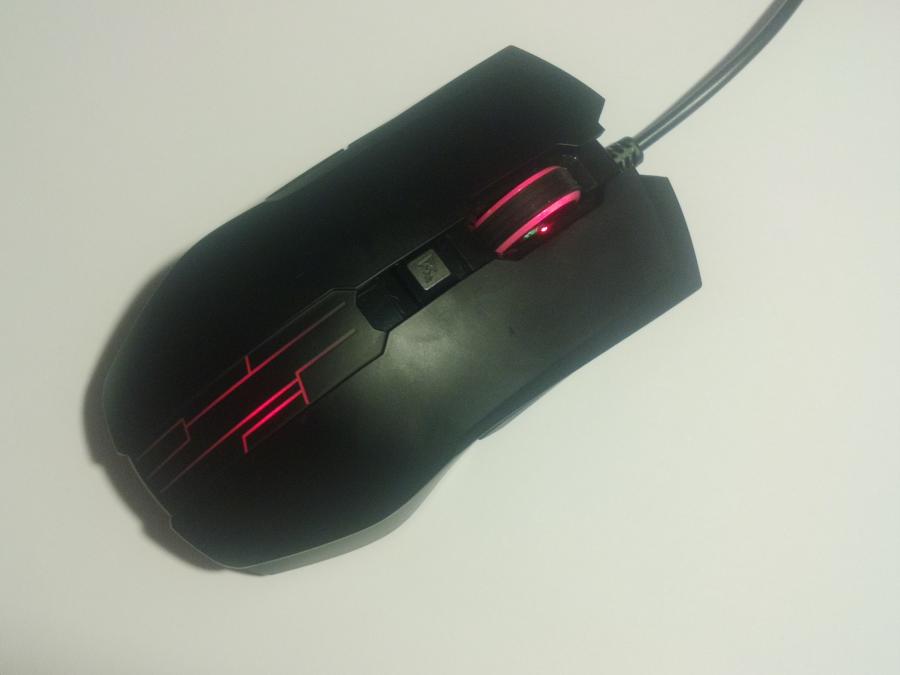
Once you have that, the controls are very simple:
- Mouse wheel to zoom
- Hold the MMB (MiddleMouseButton) and move the mouse to change the angle
- Hold
Shift, the MMB and move the mouse to pan
You can then view your amazing mesh model from different angles. (My model looked very plain plane though!)
If you didn't heed my advice to use a mouse, you are probably struggling to do some 2 handed gesture on your trackpad. There is another and less flexible way:
Fly Mode. Press Shift-f to enter fly mode. Then you can use WASD to move
like in a video game. Press enter to exit fly mode and keep your the position,
or esc to exit and revert to your position before flying.
Transforming the objects
Transforming objects is very keyboard driven, and a multi-step process.
- Select the object you wish to transform (right click to select, orange outline indicator)
- Press the appropriate key to start the transformation:
gfor transform (think grab) ORrfor rotate ORsfor scale
- Optionally press
x,yorzto lock the transform to that axis - Use the mouse or type a number to input the transformation factor
- Press
enterto save, orescto cancel
That may have made it sound so complex. It is more simple with an example!
To make the selected plane 2x longer (y-axis), you would type sy2 and then press enter.
(Doesn't that look like a VIM command?)
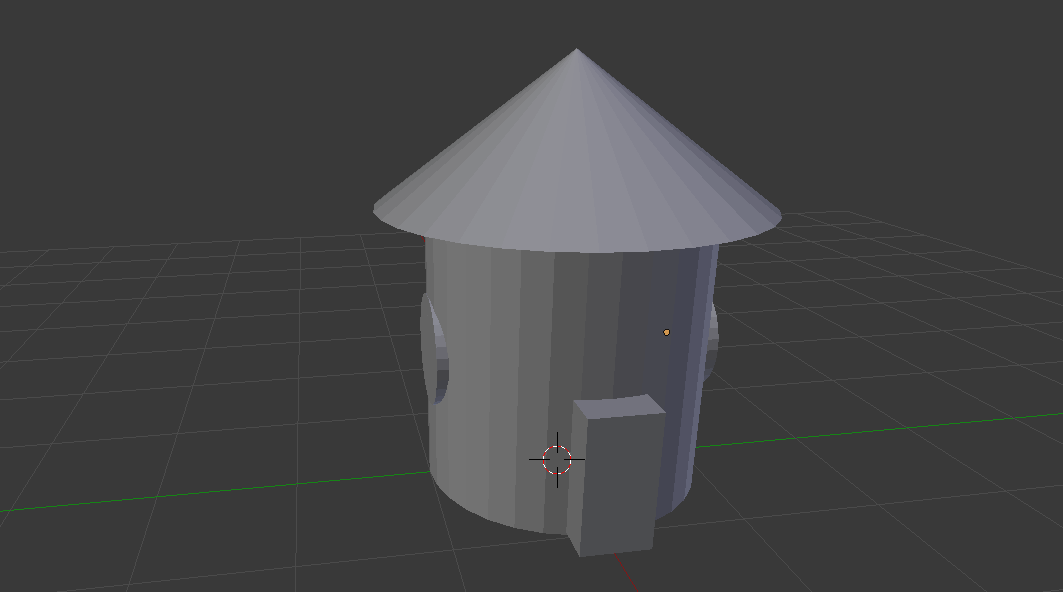
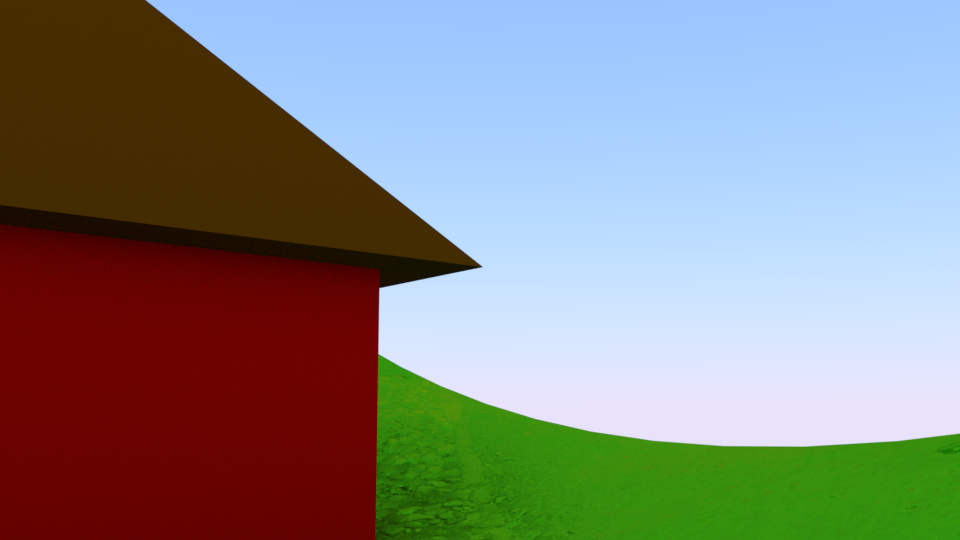
By adding multiple objects and transforming them, you can even make something that approximates a model:
Pitfall - the 3D cursor
If you played around and accidentally left clicked, you might notice that things started getting strange. The left mouse button moves the "3D Cursor" - Blender's biggest WTF:

The 3D cursor sets the position that newly added objects will get when they
enter the world. Most of the time, you want to keep the 3D cursor at the origin.
Use Shift-c to reset the 3D cursor to the origin and the viewport to the default
position.
Making special objects - mesh mode
You know how I said that blender was like a modal editor? Well let's look at the "Edit Mode" for meshes.
I'm going to start with a clean slate (Ctrl-n), and keep the default cube. Select the cube and press Tab:
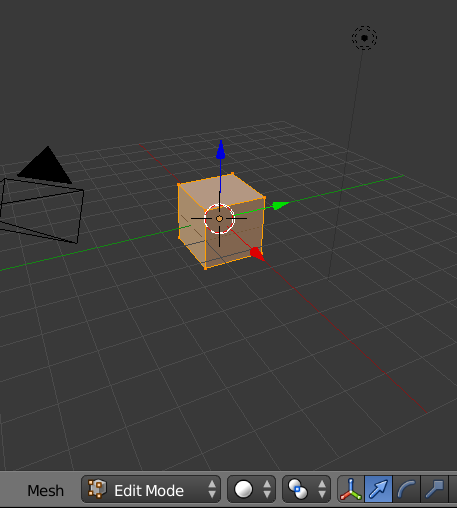
Welcome to edit mode. You can now select individual vertices. By default they are all selected (hence the orange). Press a to deselect all (it toggles selecting all), then use right click to select 4 vertices (that make up a face):
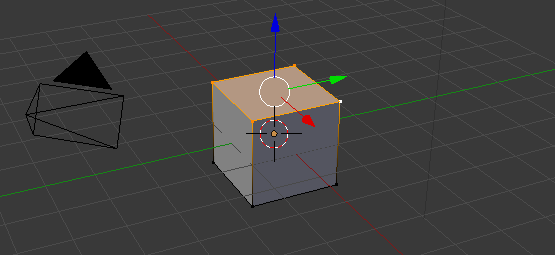
Then we are going to extrude the face - one of the main tools when modeling. Press e to extrude the face, and you should see the face come flying out of the cube. Click or press enter to give it a location:
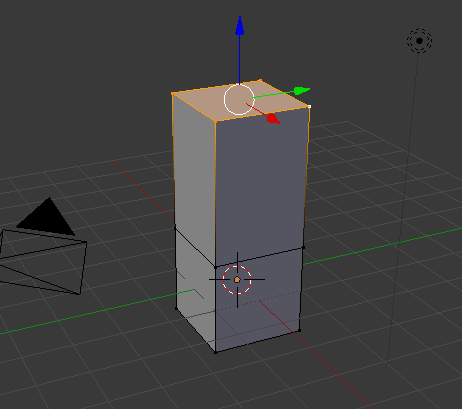
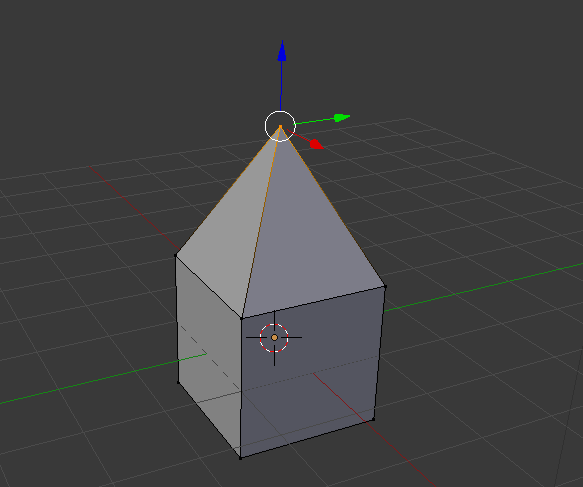
Notice that now our mesh looks like 2 cubes joined together. This means that we can scale the top face without interfering with the rest of the cube. Transformation keys work the same here as they did in before (in "object mode"). I scaled the top face to 0% size by typing s0 then pressing enter:
To leave edit mode (where you select individual vertices) press Tab. You will then be back in the default mode, object mode, where you select whole objects.
Going forward
That was a very simple overview of how to do some modeling in Blender - only touching the surface. Even in Blender, you can do much more than modeling - you can render, sculpt, animate, material and light objects to create amazing 3D scenes. Blender also features a motion tracker, compositor, video editor and game engine - so there is a whole lot more to explore!
I hope you enjoyed this article. Contact me if you have any thoughts or questions.
© 2015—2025 Sam Parkinson